

How do you introduce a new phonics concept? Say you want to teach the consonant digraph SH to your students next week. What do you do first?
I’ve used a lot of different phonics programs in my 20-plus years in teaching. And they all used a similar approach to introducing a new skill. So before I learned about the method that I’ll describe in this article, when it was time to teach consonant digraph SH, I would introduce the concept like this:
I showed my students a card containing the letters sh and a picture of a ship underneath. Then I told them the sound /sh/ and asked them to repeat it.
Next, using magnetic letter cards, I built SH words such as ship, shop, shut, and shell on my whiteboard. As I modeled how to blend the sounds to read each word, I pointed back to the SH card to remind them of the new /sh/ sound.
Basically, I gave the information to them and they received it.
Many teachers still use this approach, and I’m not here to say there’s anything wrong with that. There’s just a simple switch that I learned to make a new phonics skill more likely to “stick”. I’d like to share this switch with any teachers looking for a way to get students a little more actively involved in the introduction of a new concept.
Here it is: It’s called guided discovery.
A Misunderstood Way of Introducing Phonics Concepts
I admit I heard this term for years but resisted it.
Have you ever heard a phrase that just rubbed you the wrong way? I used to cringe when I heard “guided discovery”. That was before I understood what it really meant and saw why it’s such an important principle of effective reading instruction.
I hated it because I misunderstood it. It conjured up images in my mind of struggling readers left to “discover” how to read on their own, having free range to guess at words, only getting instruction (perhaps a mini-lesson) on how to decode if they happened to ask their teacher about a particular word.
I thought it was the haphazard, spur of the moment teaching (or “when the student is ready she will teach herself” type of philosophy) that I try to avoid instead of the well-planned explicit teaching that I know at-risk readers need to succeed.
BUT, I was wrong.
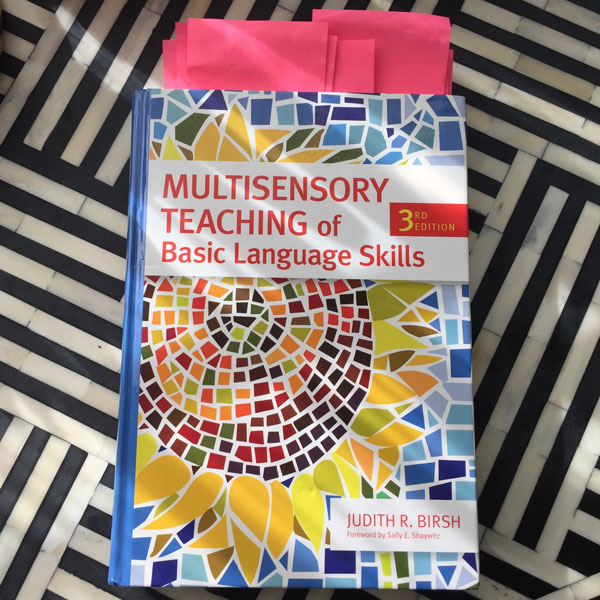
It wasn’t until I went through my latest training in structured literacy and read the book Multisensory Teaching of Basic Language Skills by Judith Birsh that I finally understood what it meant.
Affiliate Disclaimer: The link above is an affiliate link. I will receive a small commission if a purchase is made through this link. Learn more here.
How to Use Guided Discovery to Introduce the SH Digraph
So what is guided discovery?
It is a method to teach new concepts in a way that builds student interest and aids in retention. It’s essentially a speech-to-print instead of a print-to-speech approach.
How do we do it?
We prepare carefully planned questions to guide students to discover what we want them to learn.
After learning this speech-to-print technique, here’s how I changed my instruction of this same skill, consonant digraph SH. And I now use it to introduce ANY new phonics skill.
If you aren’t already using this approach and want to try it out, you can follow the following simple steps:
I’ll use consonant digraph SH as an example, but you can apply the steps to introduce any new sound-spelling correspondence.
Introduce the SH Digraph Using Speech First
With no printed letters or words in sight, say three to six words containing the /sh/ sound in the same position. A few examples are ship, shut, shop, shack, and shell.
Ask students to repeat each word back to you. Hold your hand in front of your mouth to feel the air coming out. Ask students to do the same. Talk about what your mouths have to do to form the sound heard at the beginning of each of those words.
If you’re in a small group, you can pass out small mirrors for kids to see (instead of just feel) what their mouths are doing.
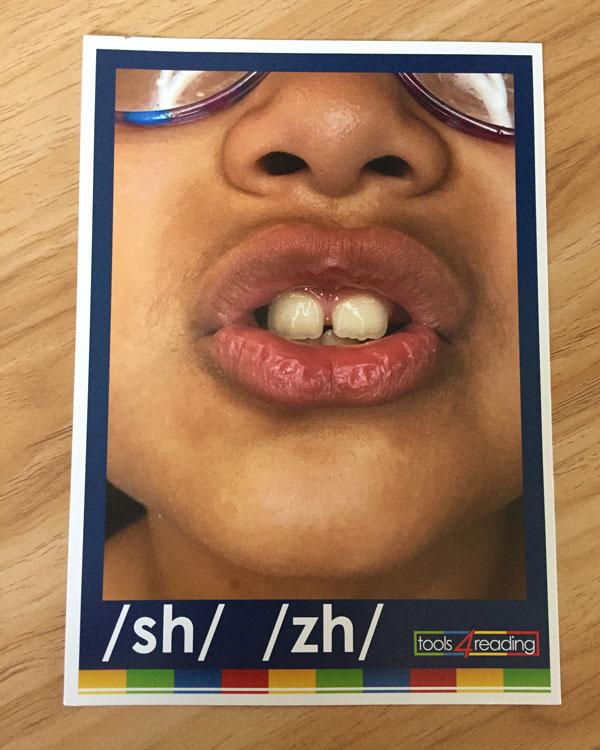
If you’re in whole group or don’t have mirrors, you can hold up a mouth/sound/lip card.
- There are free ones available from UFLI, with illustrated mouth formations and clip art keywords.
- Louisiana Believes has free cards too with real photos of kids’ mouths but no keyword images.
- I prefer the ones from Tools 4 Reading.
Make the Connection to Print
After that, show your students those same five words in print. You can write the SH words on your white board or place index cards with the words in a pocket chart.
Next, point to the printed words. Ask your students (rather than tell them) if they can find what all of the words have in common. Yes! The letters sh at the beginning!
For extra integration of phonemic awareness, segment each word together, saying the individual sounds while you point to each grapheme. Ask students how many sounds (phonemes) are in ship, shut, and shop. Help them discover that there are 3 sounds yet 4 letters in each of these words.
Connect previously learned knowledge to new knowledge. In the word ship, since students know that /i/ is spelled with i and /p/ is spelled with p, that must mean the s and h are TWO letters making ONE sound /sh/. This is a good time to teach them the term digraph if you’d like.
Next, show them a card with the letters sh printed on it. Pair it with a keyword, gesture, or even better – an embedded mnemonic picture. Students should look at the card and produce the newly learned sound /sh/.

Even though this explanation seems a bit lengthy, when you implement the process, it only takes a few minutes.
Two Variations for Introducing the SH Digraph with Guided Discovery
There are two different variations that you can use to implement this strategy.
Just Words
Using the consonant digraph SH as the new concept to introduce, you can stick with the “words only” approach described above. The advantage of this is that it requires little to no prep time or materials other than what you probably already have in your classroom.
All you’d have to do is have three to five words in mind containing the target sound plus only previously taught patterns.
For example, since you will be showing students the words, if you’ve already taught short vowel words with one syllable to your kids, you’d want to stick with words like shop or shut instead of words like shoelace or sheep so that students can confidently match the sound heard with sound-spelling correspondences they’ve already mastered.
Visuals
The other way to do it is to show students pictures of the words as you say them and ask students to repeat. I love to find interesting, cute, and/or funny photographs of things that contain the sounds I’m going to introduce. For digraph SH, I’ll show something like this.

This helps students make connections to things they might find interesting like sharks or sheep and increases engagement. If the photo is cute or funny, you’ll get the added bonus of smiles and laughter, which leads to enhanced attention and memory.
Using visuals may also benefit students who are English Language Learners, leading to increased vocabulary and opportunities for more oral language development. For these examples, if I haven’t taught my students R-Controlled AR or Vowel Team EE, I would hold off on writing those words on the board and would make it a purely oral exercise. We would say the words after looking at each picture and feel what our mouths were doing. THEN, while we are all making the /sh/ sound, I would pull out my SH card to show the letters.
You could combine the best of both approaches and only show images containing only previously taught sounds, so that students can see real photographs AND see the printed words. That usually limits the number of interesting options for visuals, but if you looked hard enough, it could probably work in many but not all instances.
Why Does It Work So Well for Acquisition and Retention of New Phonics Skills?
Not only is this process fun for students and easy for teachers to implement, but research has found it to be highly effective.
According to Suzanne Carreker, guided discovery enhances students’ awareness of sounds in words and encourages students to think about how sounds are formed in their mouths and represented in words. It gives students the opportunity to notice letters in words, which heightens their sensitivity to letter patterns.
The Feel-Good Factor
Kids usually think learning a new sound-spelling correspondence is fun. They’re excited to “discover” something they didn’t know before.
It also makes students feel good to actively be part of learning something new rather than passively receiving information from their teacher.
By introducing new concepts using the guided discovery technique, we increase our students’ sense of participation in their own learning. We empower them and make them feel successful. We motivate them to want to learn more and get excited about the next spelling pattern they will discover. The questioning makes it easier for them to be actively engaged in our lessons and feel good about learning new things.
By beginning with speech only, the intimidation that some readers feel when seeing letters is gone. It’s easy to repeat a word, it’s interesting to see a photo of the word, and it’s fun to look at and/or feel what our mouths are doing when we form the word. This sets up students to feel at ease when we then show them the graphemes.
Print and Digital Resources to Effectively Teach Digraph SH
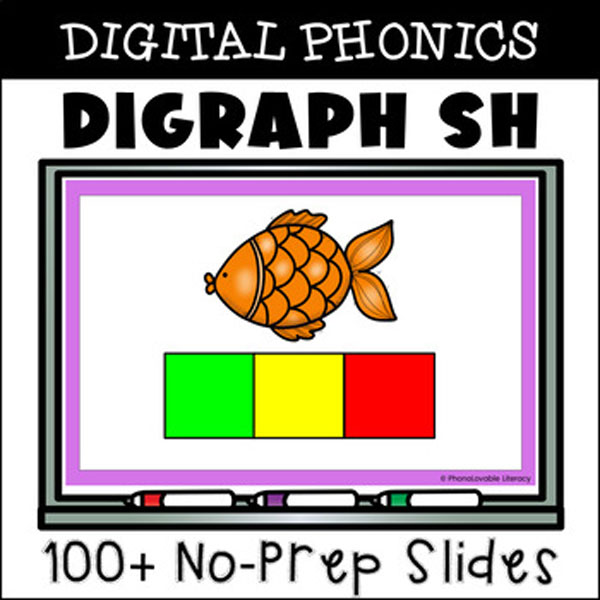
If you need resources to teach digraph SH, you may click on any of the images below.
Would you like a FREE, NO-PREP, done-for-you lesson to get your students quickly mastering the digraph SH? This set of digital slides contains a complete lesson, including guided discovery with photos and an embedded mnemonic, decoding and encoding practice at the word and sentence level, word chain mystery picture slides (a student favorite), and phonemic awareness games!
Click here if you’d like to give it a try.
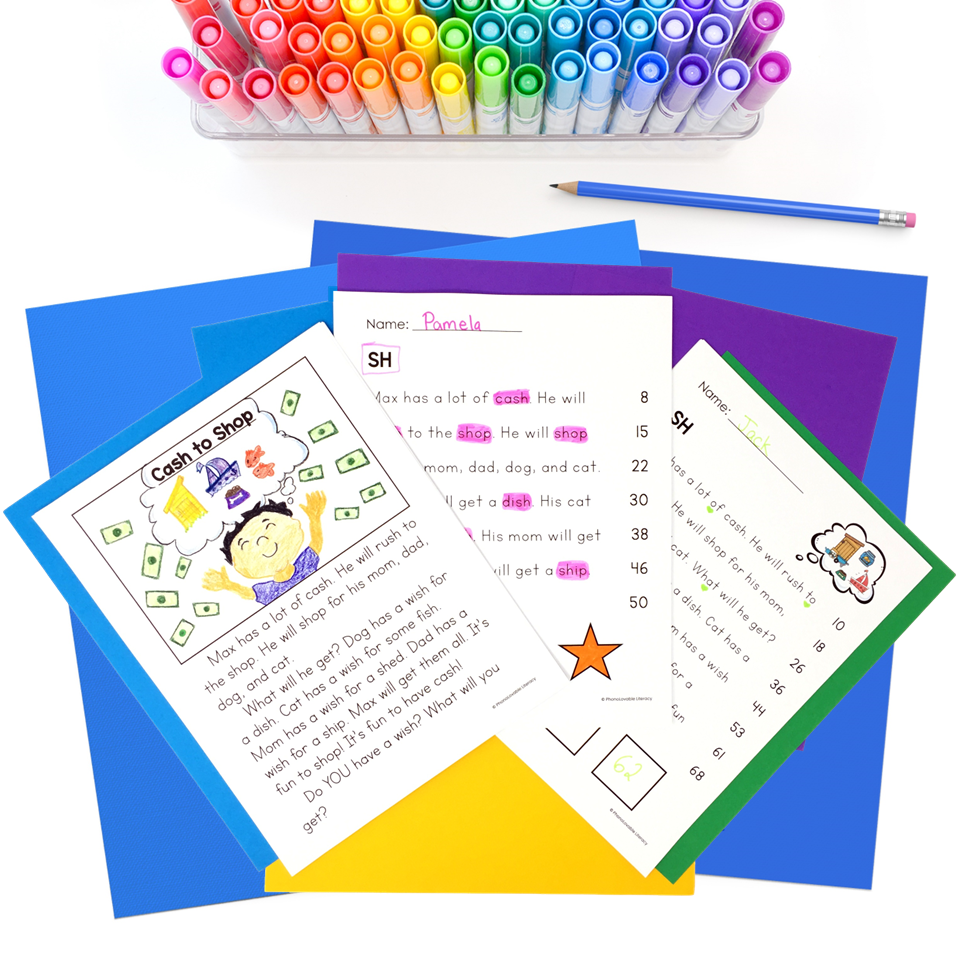
For extra student practice, you may use these free SH printables, including word ladders, concept pages, decodable sentences, and differentiated versions of a decodable passage.
When you are ready to have your students apply digraph SH in their writing, you can use this digital and printable sentence dictation resource.
Final Thoughts
If this was new information for you and you want to give guided discovery a try the next time you teach your students the SH digraph or any new sound-spelling pattern, I hope I was able to provide some useful tips.
And if you’ve already been implementing this strategy, I wish you and your students continued success!