R-controlled vowels can be tricky for many kids, especially for our striving young readers. Do you have AR words coming up in your lesson plans and need effective and engaging ways to teach them? If so, I’ve got some research-based, classroom-tested ideas to help your students quickly gain confidence with this syllable type.
Do you have an over-abundance of planning time in your life? Sadly, I don’t know of any teacher, myself included, that can answer yes to that question. That’s why I create so many digital resources, because I know how important it is to save planning time. I’ve made an r-controlled AR resource that’s an absolutely NO-PREP option for implementing each of the strategies I’ll outline in this article, but it’s by no means a necessity. I’ll also explain how to teach AR using materials you likely already have in your classroom or can easily get. And I’ll share free print-and-go AR worksheets for meaningful, enjoyable practice that you can use with your students tomorrow. These include word ladders, word lists, decodable sentences, and differentiated decodable passages.
First, here’s a bit of background knowledge on words containing AR.
What are R-Controlled AR Words?
AR is one of the five r-controlled vowels found in the English language. The others are OR, ER, IR, and UR. The family of r-controlled vowels is also one of the six main syllable types we find in words.
When the letter r comes immediately after a vowel, many teachers say it “bosses” the vowel around by telling it to make a different sound. We use stories such as the “bossy R” to make an abstract concept more relatable to kids. Who can’t relate to a bossy sibling or friend?
The r-controlled vowels may seem confusing to our kids because the sound is neither short nor long. For example, the /ar/ sound is the middle sound we hear in words like “farm” and “park”. Striving readers may have only recently mastered the short a sound in “tap” or the long a sound in “tape”. And now we’re throwing another sound-spelling correspondence containing the letter a into the mix.
To complicate things even further, AR does not always make the /ar/ sound. It can sound like /er/ when it’s at the end of a word with more than one syllable, such as “dollar”. There are also variations that take on more of a longer sound, such as in the word “care”. And then there are irregular words like “warm”!
So, to begin, I like to make it clear and simple by focusing only on the /ar/ sound we hear in common words like “art” and “dark”, and a word some of my students feel the need to express when they do it, “fart”.
For this article, as I do in my first lesson, I’ll focus on the r-controlled AR when it makes the /ar/ sound as in “barn”.


What Are Some Words with AR?
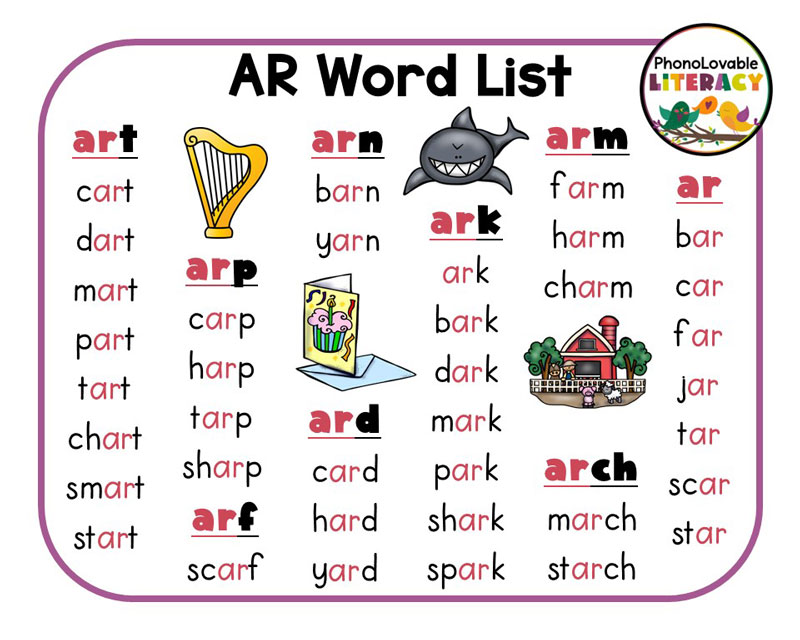
Before teaching r-controlled AR words, it’s helpful to have a word list ready. Sometimes my mind draws a blank when I’m trying to think of good words on the spot. That’s why I made this AR word list organized by word family. Feel free to use it too.
In line with this “start simple and build from there” philosophy, I only included single-syllable words. Some of the words have blends and digraphs, so it’d be helpful if your students are familiar with those. Most phonics programs teach digraphs and blends immediately after short vowels (and before long vowels or r-controlled vowels), so it’s a safe bet those won’t be a problem.

How Do We Teach R-Controlled AR?
Let’s look at 10 ways to get kids comfortable and confident with AR words. In the intervention world, I usually spend 1 to 2 weeks on this skill. Depending on the needs of your students, you may find you need more or less time. No matter how many days I take to break apart the lesson, I always try to include a little bit of decoding and encoding on each day. Even though I know it’s recommended best practice, it doesn’t always happen (cue fire drill or unexpected visitors here). At least we try!
1. Introduce the /AR/ Sound with a Speech-to-Print Approach
This is a strategy I admit I only started using over the past year, but what a positive difference it’s made! And it’s such a simple shift from what I was doing before. Instead of starting with an AR letter card, I now start with NO PRINT IN SIGHT. Instead, I simply say words containing the AR sound, and ask students to repeat each word. If I’m extra prepared or have working technology that day, I’ll show my kids pictures (printed out or projected on digital slides) of objects containing the /ar/ sound, like shark and park.


If you want to try this strategy, say the word, ask students to repeat it, and tell them to pay attention to how their mouth feels when they say it. You may also have them look in a mirror to see their mouths.
After repeating this process with 3-6 words, THEN reveal the printed AR letters that represent the target sound. This speech-to-print approach helps students recognize the sound these words have in common before introducing them to the more abstract AR symbolization.
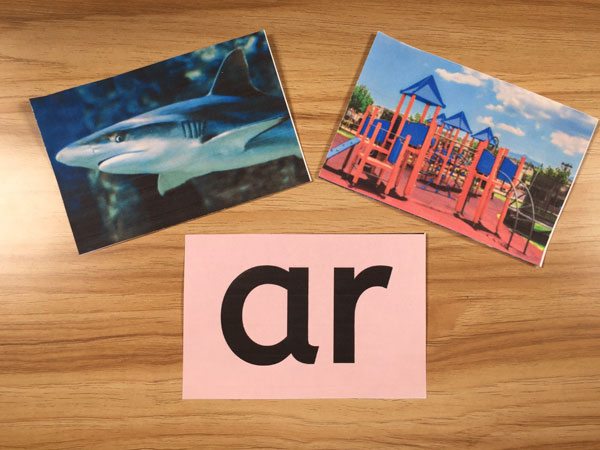

This step is probably my favorite part of the lesson. By beginning with speech only, the intimidation that some readers feel when seeing letters is gone. It’s easy to repeat a word, it’s interesting to see a photo of the word, and it’s fun to look at and/or feel what our mouths are doing when we form the word. This sets up students to feel at ease when we then show them the graphemes. Not only does this approach feel good, but research has found it to be highly effective.
2. Pair the AR letters with an Embedded Mnemonic
For extra reinforcement and association of the /ar/ sound with the AR letters, you might want to try using an embedded mnemonic. This is especially important if you work in intervention or special education, but it’s also a wonderful way to PREVENT students from falling behind in learning letter sounds in the first place. After introducing the printed AR letters, show students an embedded mnemonic version of the letters and tell them this is a helpful trick to remember the sound-spelling correspondence.


If you have any artistic skill, you could draw a simple car over the letters on an index card.


For an even more multisensory approach, pair the card with a gesture and chant of the letters, keyword, and sound. For example, have them pretend they are driving a car while they chant “AR – car – /ar/”.
Multiple studies have supported the practice of using embedded mnemonics (with a similar shape to newly introduced letters) over separate pictures next to (not embedded in) the letters. While both are effective, research has proven embedded mnemonics to be more effective. At least two studies (this one and this one) have reported that students learned twice as many letters and sounds with embedded mnemonics over traditional methods!
3. Practice Phoneme Manipulation of R-Controlled AR Words with Letter Supports
If you think some of your students might benefit from additional foundational exercises, you can provide them with the opportunity to orally manipulate the phonemes in a few r-controlled AR words. Just one to three minutes on this practice is fine!
For example, ask students to say “park”, and then change the /p/ to a /sh/. Remember you are saying the SOUNDS, not the letter names. I sometimes add letters as a support. I think most of us are over the whole “YOU MUST ALWAYS BE ABLE TO DO PHONEMIC AWARENESS IN THE DARK!” debate.
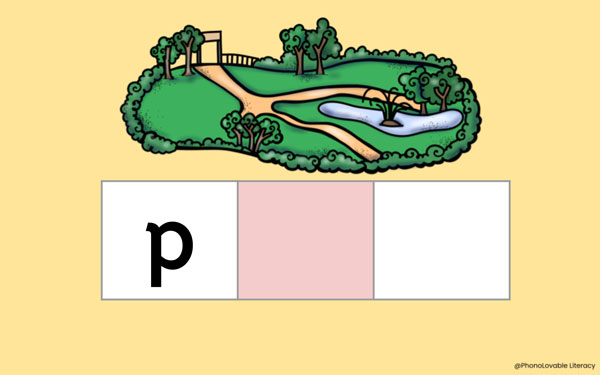

Anyway, when you ask what the new word is, students should say “shark”.


You might also choose to do this orally without letter supports or visuals. I find the supports helpful as a scaffold as well as reinforcement of letter sounds, but do what works for you and your students!
4. Practice Reading AR Words Listed in a Word Chain
Compile a list of AR words for your students to read, making sure to include letters and spelling patterns that you’ve already taught. Arrange the words so they form a word chain, with only one sound changing from one word to the next. For example, you might organize your words like this: dark, dart, chart, cart, etc. I usually aim for 8-12 words.
You can do this several ways. Just choose what’s easiest based on your time and materials. You can simply write a word on your whiteboard (word chain list in hand) and ask students to read it. Make one change at a time and keep asking, “What’s the new word?”. Or you can give students letter tiles and tell them what changes to make. After they make each change, ask, “What new word did you make?” or “Read your word.”
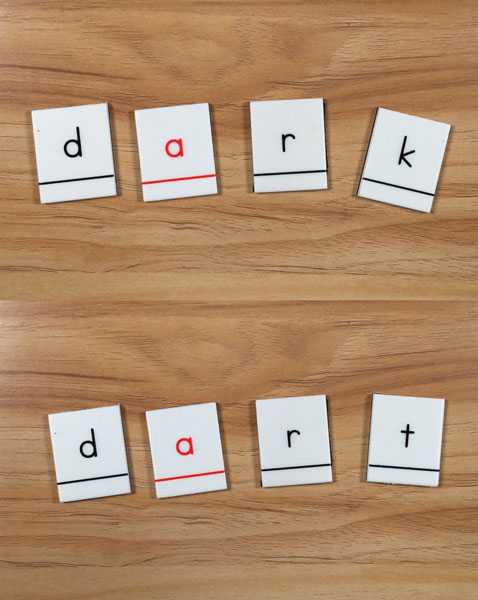

I included a digital version of this activity in my AR slides resource that looks like this. I click for the change to appear as quickly or as slowly as I think my students need.
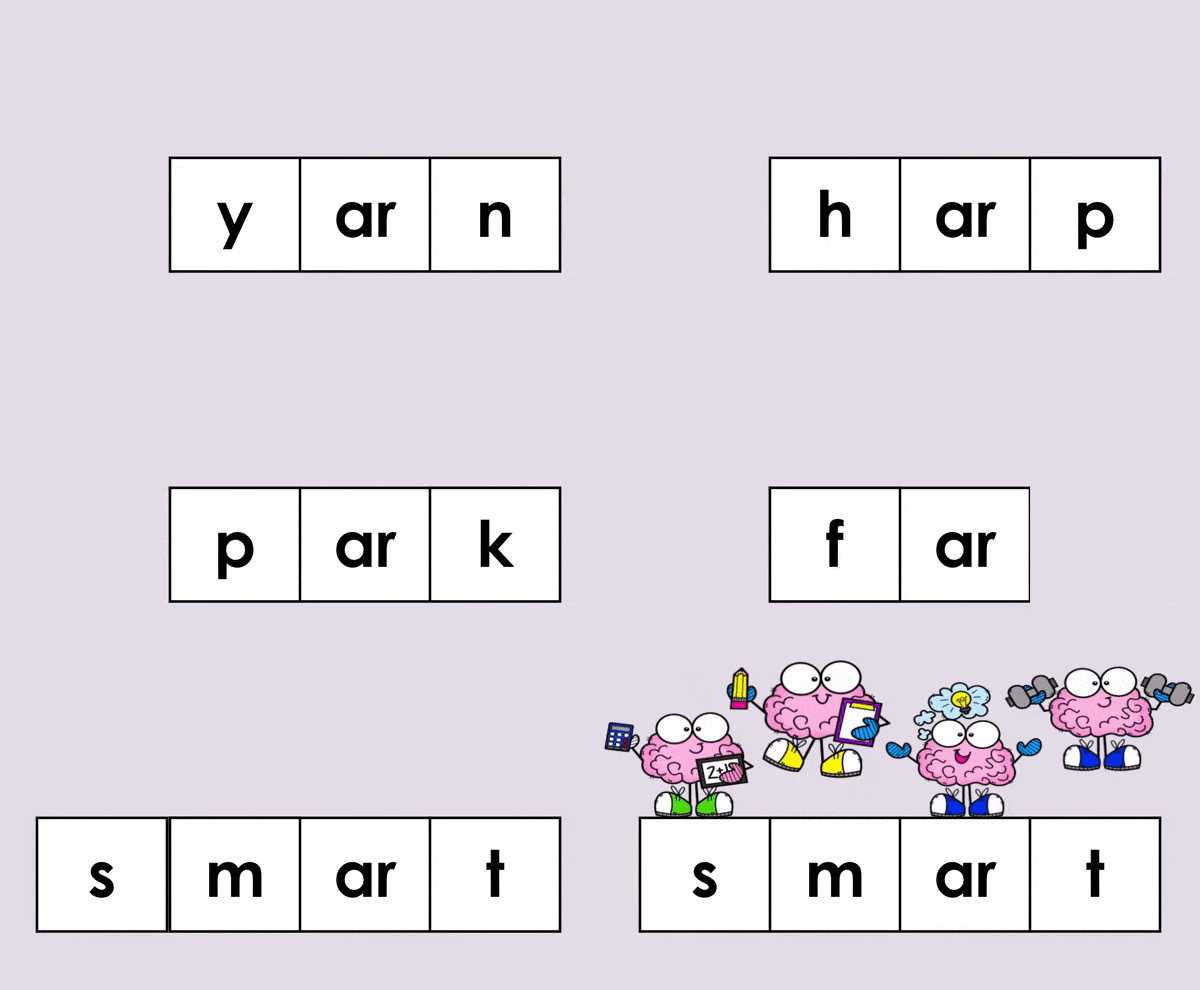

Research has proven that word chaining is an effective way to strengthen both phonemic awareness and phonics skills in children. Two for one! If you need some word chain lists for students to practice reading or writing, I created some free AR worksheets with word ladders and differentiated word lists that you may grab here.
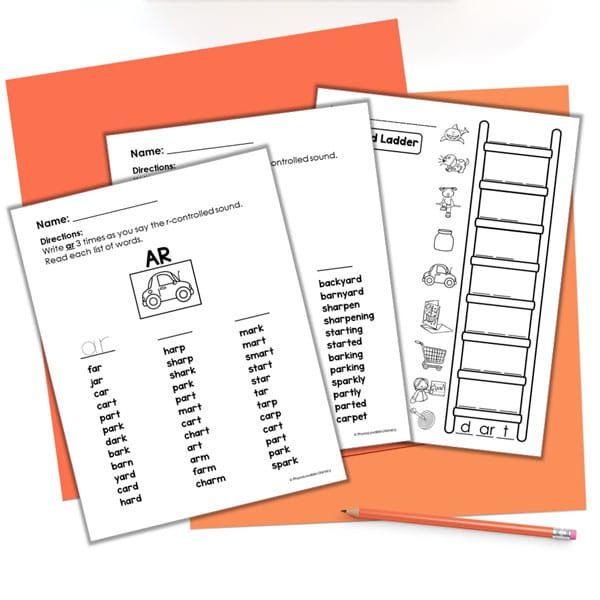

5. Build Fluent Reading of R-Controlled AR Words
This activity is similar to the one above, just with the goal of whole word reading fluency. If students labored through reading the word chains, save this fluency work for when they aren’t cognitively overloaded.
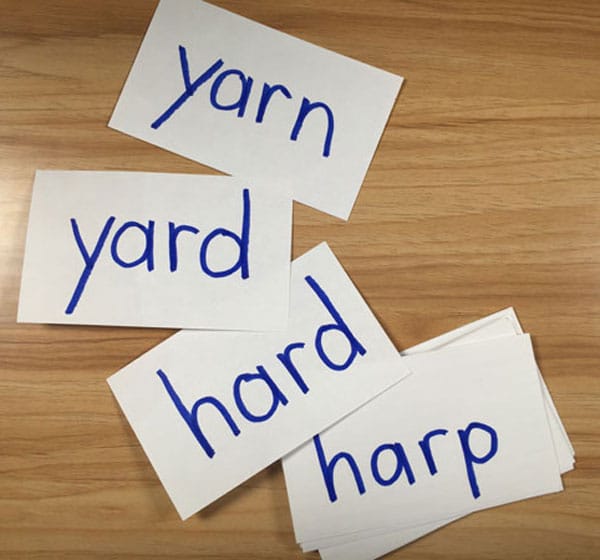
If you don’t want to make slides, just write the words (in order) on index cards. You can also write them all on the board. Use a pointer and read all of the words chorally.

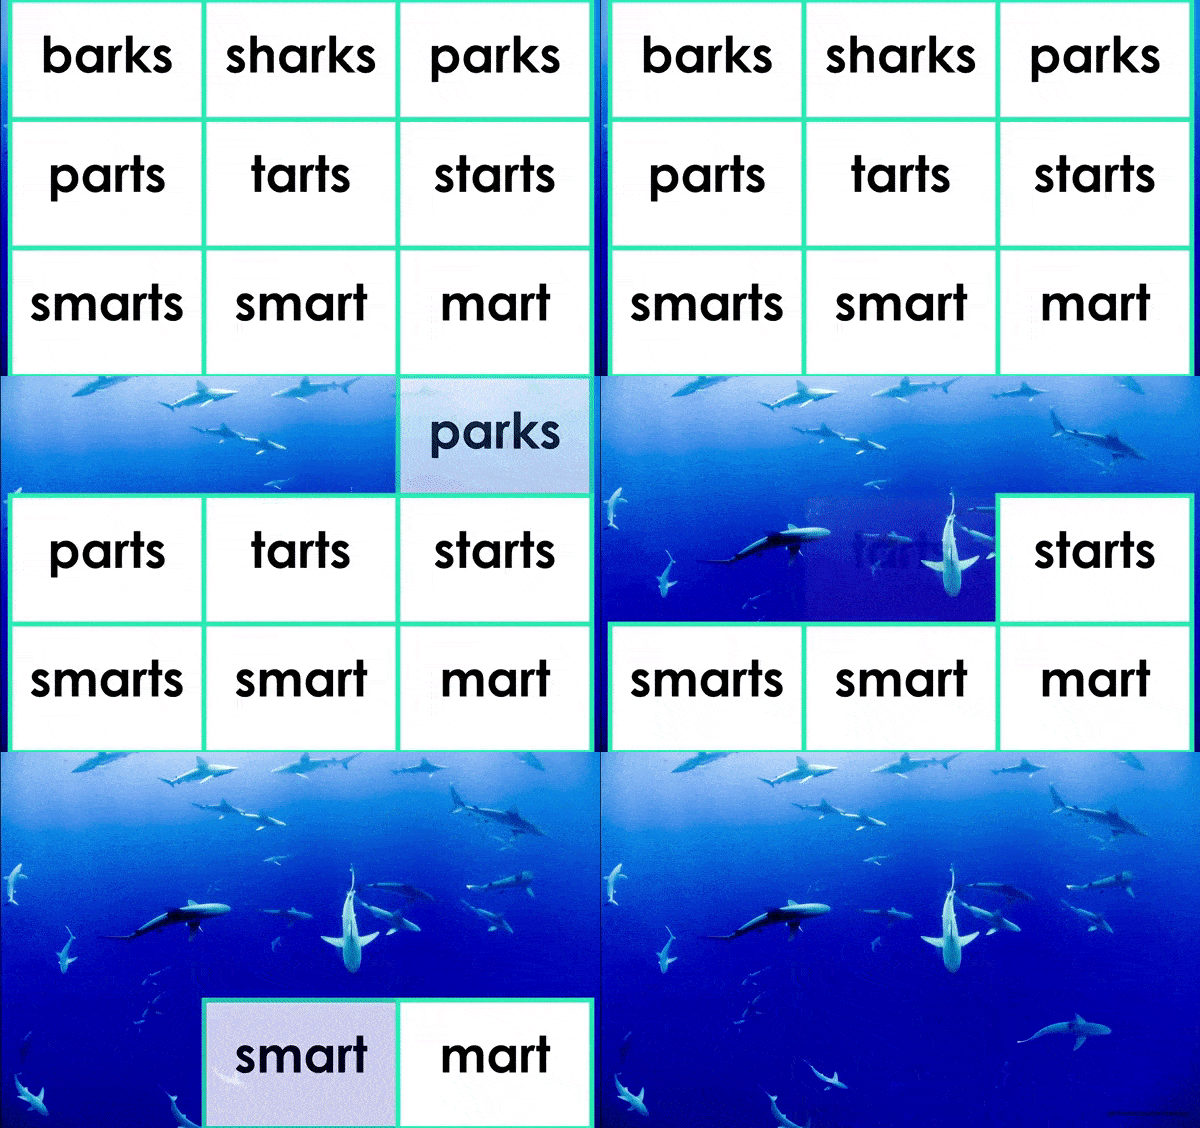
If you’re familiar with my digital structured literacy lessons, you know about “mystery pictures”. When receiving feedback on these slides, this activity is almost always reported to be a student favorite. This is simply a word chain, written in rows of text boxes, inserted over an interesting photograph containing the target sound of the lesson (sharks for the AR lesson, for example). These are pretty easy to make once you get the hang of it. You just add animation to your text boxes so that when you click after students read the word correctly, more of the picture is revealed. It’s easier to explain visually, so here’s a visual!

Our most at-risk students need MULTIPLE practice opportunities before words “stick”. That’s why I try to provide word-reading practice in so many different ways. They get the opportunities they need without feeling like they’re doing the same thing over and over again.
6. Practice Spelling AR Words Listed in a Word Chain
Since reading and writing go hand in hand, let’s get into spelling practice with AR.
To begin with, have students close their eyes to visualize the two letters that make the /ar/ sound. As they do this, have them pretend to write the letters in the air or on their desks and say the names of each letter. Then, show them a card with the AR letters. Use the embedded mnemonic if you have it!
After that, I like to follow this spelling routine: Show a picture of the word (or just say the word if you don’t have any visuals), say the word, and ask students to “chop up” the word into its individual sounds. As they say each sound, draw a box or blank line on the board for each sound. AR is TECHNICALLY two sounds (say car is super slow motion and feel the slight movement in your mouth as you make the ar sound), unless you’re from the northeast and maybe say it as “cah”. For purposes of getting students to remember the AR sound as a unit, I ask them to chop up the ar as one unit, so “car” would be c – ar (/k/ … /ar/) and “chart” would be /ch/ – /ar/ – /t/.
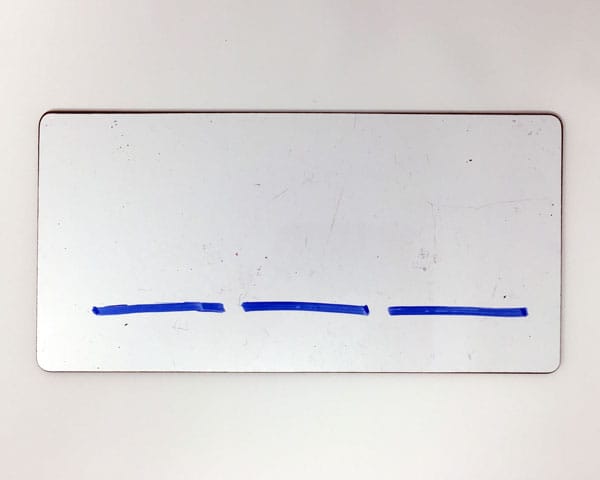

Then, tell them to spell the word on their paper or dry-erase boards. When they’re finished, fill in your boxes or blanks so students can check their work. This is a good time to remind students that mistakes help us learn!
Continue this several times, prompting students with words in a word chain that only have one sound change between each letter.
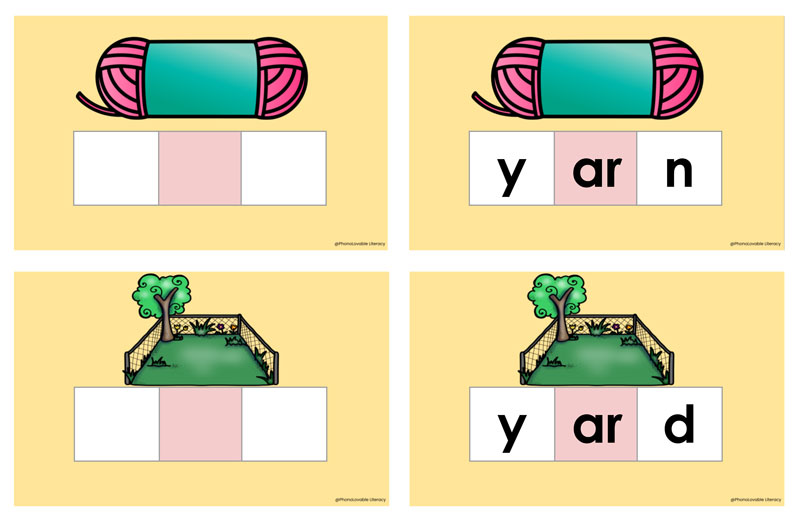

7. Read Decodable Sentences with AR Words
When your students have found success with AR words in isolation, it’s time for decodable sentence reading. This is important because it gets our kids into the APPLICATION of the skill we taught them, but it isn’t as overwhelming as reading an entire decodable book.
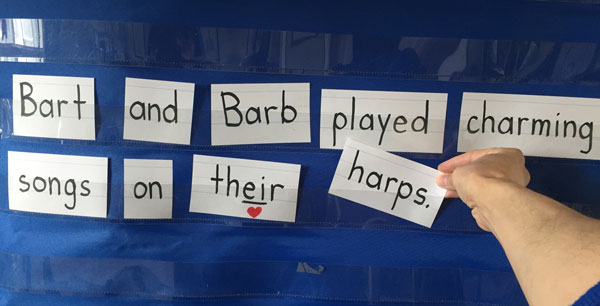
If you want to do this without digital slides, just prepare a list of three to five sentences, each containing a few AR words. Ideally, each sentence should contain mostly decodable words and a limited number of irregular words or words containing regular, but not yet taught, spelling patterns. Write each sentence on a sentence strip, and cut between each word.
Introduce your students to any irregular words (heart words, trick words, etc.) before having them read any sentences.
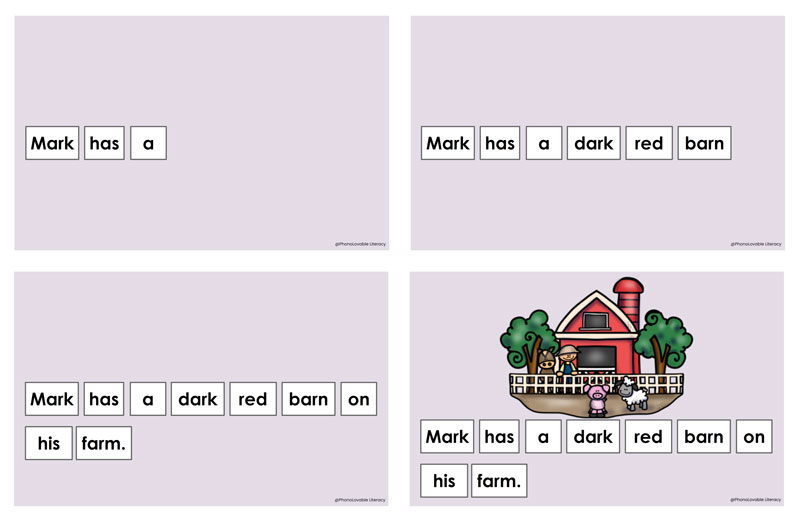
Next, put each word on a pocket chart one at a time as your students read each word of the sentence. The one-word-at-a-time approach prevents students from feeling overwhelmed and allows them to give their full attention to that word.

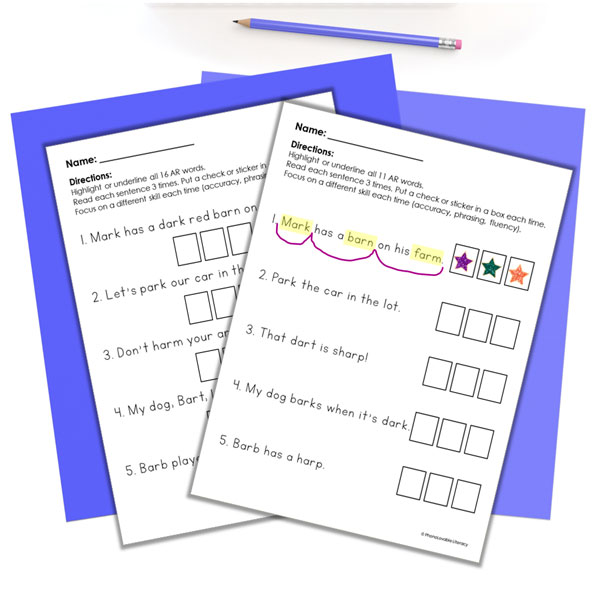
A less-prep option is to simply print out a list of sentences. I made some AR reading worksheets you may access for free here. Students can highlight AR words, put hearts under irregular parts of high-frequency words, draw scoops under phrases, and read for accuracy first, then fluency.

If you still want to use the one-word-at-a-time approach, you can give students little notched cards to use. Tell them it’s a tool to help them slow down and focus on reading each word accurately before moving to the next.
If you have students who are new to the English language or have limited vocabulary, I’ve found it beneficial to show a visual representation of each word and sentence in my lesson, but only AFTER they’ve read it. No building bad habits of guessing using picture cues!

8. Write Decodable Sentences with AR Words
Another important step in a structured literacy lesson, and another student favorite, is sentence dictation. Students are usually so proud of themselves when they write a sentence that, just a week ago, they wouldn’t have had a clue how to write. I work in intervention, so maybe this isn’t the case for everybody, but at-risk students need all the confidence and success they can get!
Here’s a recommended routine for sentence dictation:
Tell students they’re going to listen to a sentence and repeat it. Dictate a previously prepared decodable sentence with a few AR words, similar to the reading sentences described above.
Ask students to count the words as they say the sentence slowly. Write blank lines on the board for each word. If you can provide an illustration to go along with each prepared sentence, great!
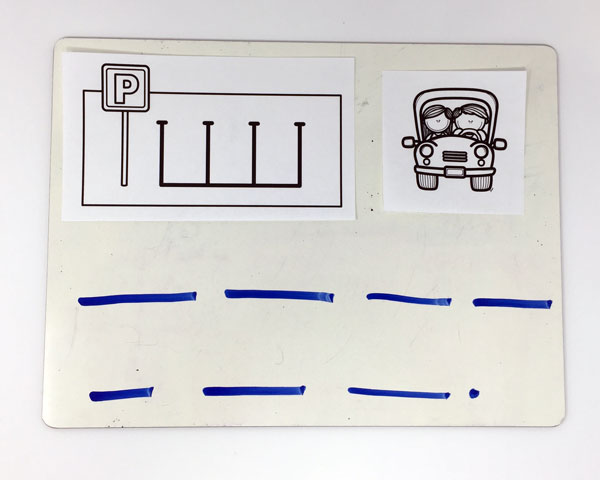

After students repeat the sentence, ask them to write it on paper or a dry-erase board. When students are finished, ask them to read their sentence back to you. Write the words on the lines on your whiteboard. Then tell students to check their writing for anything that needs fixing. Finish by praising your students’ sentence writing efforts!
9. Practice Reading Minimal Pairs Containing AR Words
To minimize future decoding errors with AR words, you might want to add minimal pairs practice to your lessons. Minimal pairs are two words that differ by only one sound, such as:
- had and hard
- mat and mart
- ban and barn
This is similar to word-chaining, but we are only presenting two words at a time.
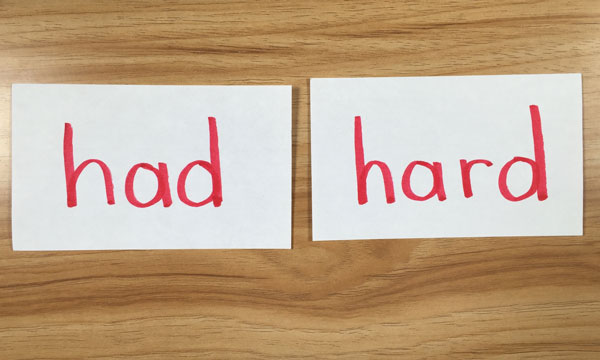

After you teach AR words to your students, consider some periodic review with minimal pairs or word chains. This way, our students will stay sharp in their r-controlled AR skills and will be more likely to retain them long term.
10. Read a Decodable Passage with AR Words
I try to save a few minutes each day or a full 30 minutes at the end of the week for application of the skill at the passage level. Even though the decodable book genre has exploded over the past few years in both quality and quantity, many teachers still have a hard time finding books to match the specific skill they’re teaching. And books on that skill that are actually interesting and affordable are ever harder to get.
I’m in the process of creating printable and digital decodable books for each skill in a structured literacy sequence, but the AR books aren’t ready yet. I do, however, have a printable decodable passage that you may access for free here.
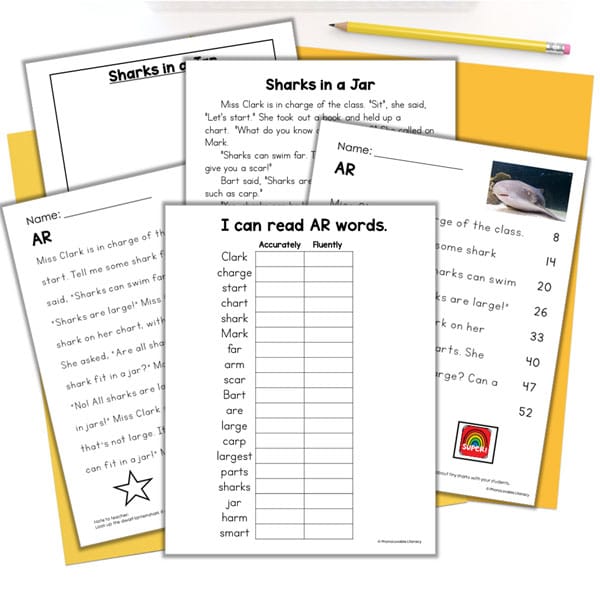

I’ve included several versions for differentiation, including a text illustration box and a shortened and simplified fluency version. Get your students intrigued by asking, “Do you think a shark could fit in a jar?” Google “dwarf lanternsharks” when your students finish reading and build some knowledge! They’ll love to read and reread this passage.
Structured Digital Phonics Lesson for R-Controlled AR Words
If you’re thinking that it will take some time to prepare so many word lists, sentences, letter cards, word cards, and images (if you choose to include them), you wouldn’t be wrong.
As I mentioned at the start of this post, I created a digital slides resource for teaching AR words with ZERO PREP. Just open and teach. All directions for each step in the lesson are included in the speaker notes. These are Google Slides presentations, so you just have to be in “Present/Slideshow” mode and click the dropdown where you can see the notes and your students can’t. Once you teach a few of these lessons, though, you won’t even need most of the notes.
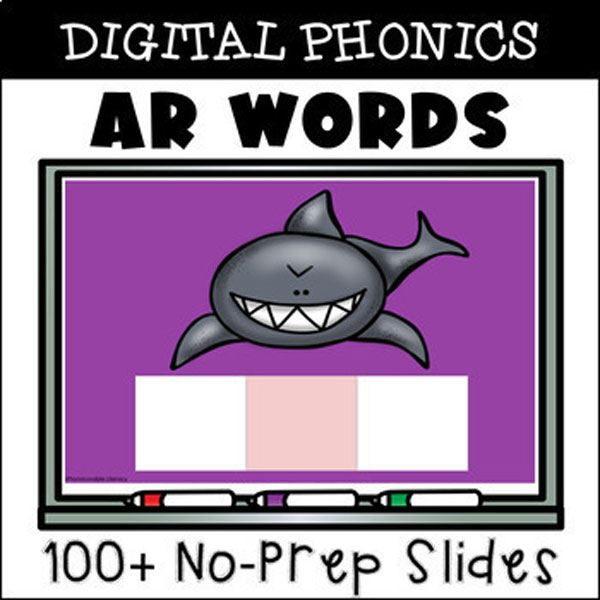

This resource includes parts 1 – 9 of the lesson activities I explained in this article.
If you’d like to use this resource to teach AR words, you can pick it up at this link.
Interested in resources similar to this to effectively teach other phonics skills? Check out my Phonics and Phonemic Awareness Lessons Digital Slides Bundle.
Closing Thoughts
In closing, I hope I was able to spark a bit of inspiration for your next r-controlled lesson with AR words.
Thank you for being an important part of the mission to teach all of our children to become competent and confident readers!

