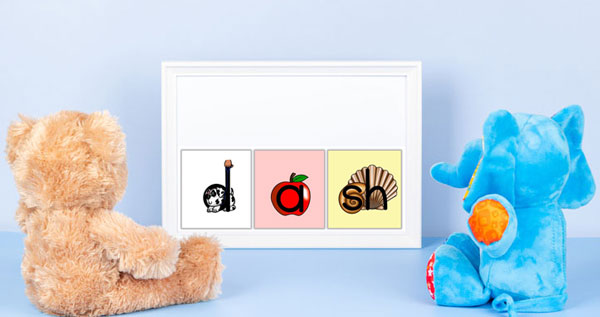
If you asked me to pick one technique that I use every day, but had no idea existed when I first started teaching, I would say …
Word chaining!
While this strategy is beneficial for both decoding and encoding practice, the focus of this article will be on decoding.


What Is Word Chaining?
Let’s say we notice some of our students making errors with short vowels in the middle position. So the next day, we give them the following eight words to read:
pig, bun, sat, cod, ran, wet, mop, pet
The words have a variety of short vowels in the middle, so it seems like good practice.
But what would be even better?
Making a word chain, in which only one sound changes at a time. Here’s an example:
big, bag, bug, beg, bet, but, bit, bat
This word list trains our kids’ brains to pay extra careful attention to the smallest differences in words. This practice encourages healthy decoding habits and discourages looking at the first letter and guessing at the rest of the word. As you probably know, that guessing-at-words habit can take a long time to break.
Why Is This Important?
Most at-risk readers, 70% to 80% of them according to Moats and Tolman (2009), struggle to accurately and fluently read words due to an underlying weakness in phonological processing. This term refers to our ability to use the sounds of our language to process spoken and written language. Not surprisingly, learning sound-symbol correspondences and sounding out words is a slow, difficult process for these children.
Word chaining is an effective and efficient way to strengthen our students’ phonemic awareness skills and improve both decoding and encoding abilities. This integration of phonemic awareness and phonics, combined with focusing on the smallest differences in words, is helpful for all students and critical for many.


What Are Some Simple Tips to Implement Word Chains?
Not only is word chaining an essential practice for readers who struggle with decoding, it’s also pretty easy for a teacher to implement. Kids think it’s fun too, so that’s a bonus.
Here are some simple tips for implementing word chains:
Tip 1: Take Notes
During your phonics lessons, take note of any specific skill students are having difficulty with, and jot down a word chain to use the following day. For example, if kids are making errors reading final consonant digraphs, your word chain might look like this:
mash, math, path, pack, back, bath, bash, dash, dish, wish, with
Note that each word changes by only one sound at a time, although in some cases that may mean changing more than one letter. “Back” to “bath”, for example, changes by two letters but only one sound.
Tip 2: Be Mindful of the Types of Changes
Changes in the words can occur in any position. Each change may involve a substitution, an addition, or a deletion of a sound. Just make sure the words contain skills you’ve already taught. For example, you can go from “sip” to “slip” if you’ve taught beginning blends. Don’t use “ship” if you haven’t taught the sh digraph yet. Changes at the beginning of a word are typically easier for kids than changes at the end or middle. Therefore, just increase the challenge as needed.
Tip 3: Throw in a Nonsense Word or Two
Aim for lists of 5 to 10 words every day. If you’re stuck on how to get from “dot” to “dip”, for example, feel free to add a nonsense word like “dop” to keep the chain going.
Tip 4: Use Embedded Mnemonics
For younger readers or students who don’t have strong letter-sound skills yet, start your word chains with embedded mnemonic cards.
If you want to read more about why embedded mnemonics are important, you may be interested in this article.
As students gain confidence, fade out the embedded letters. Slowly transition to plain letters for just the sounds that students have mastered. I put large cards on the ledge of my whiteboard, ask students to read that word, and then I change one card at a time.
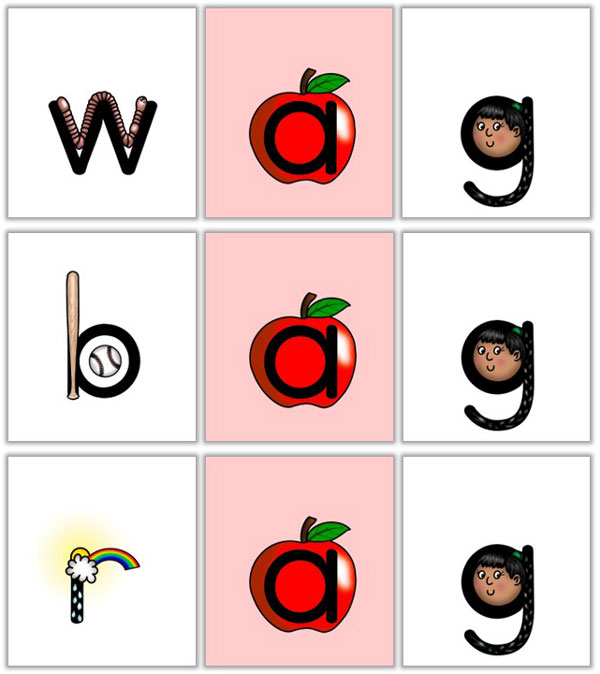

If students show mastery of the consonants but not the vowel, it can turn into this:
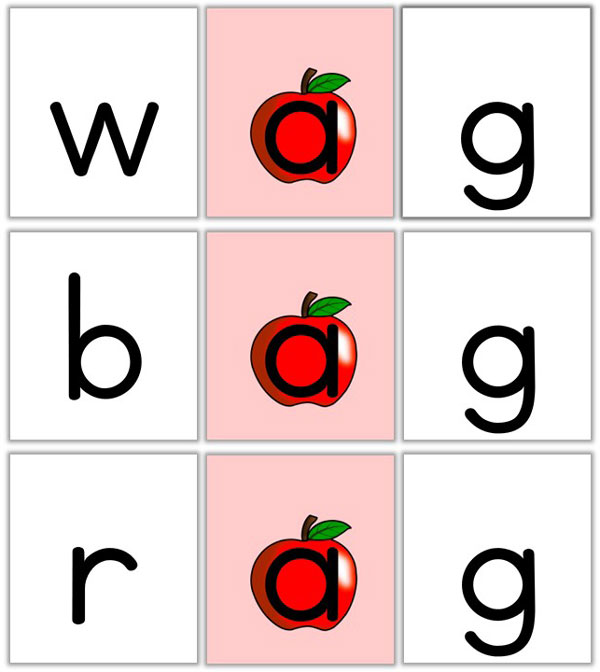

Students who are struggling with b’s and d’s might need a word chain like this:
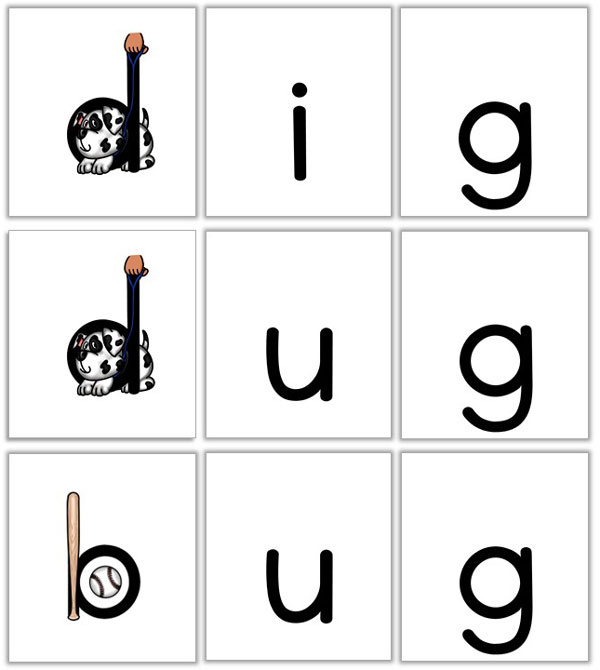

If you need embedded letter cards, we now have large (7.5″ by 10″) and medium (5″ by 7″) sets available. They include embedded mnemonic pictures for 26 single letters and 5 consonant digraphs. The cards come in color and black & white versions along with plain letter sets. You can check them out here.
What Materials Do We Need?
Another great thing about word chaining is its adaptability to a variety of materials.
You may use:
A Whiteboard
I use a whiteboard with Elkonin boxes already on it, but this isn’t necessary. You could draw your own boxes. I prefer the boxes to reinforce the fact that multiple letters can make one sound (writing d – i – sh in three boxes because there are three sounds, even though there are four letters). You could have the entire list of words written on your large whiteboard or write one at a time on a small board. I prefer one at a time on a small board because it eliminates the impulse students may feel to rush from one word to the next.
If you are doing one word at a time, make it fun and build a sense of anticipation. Say things like, “Watch what happens next” or “Ooh, here’s a challenge”. After you make the change, ask, “What’s the new word?” After students get familiar with the routine, I sometimes do the entire word chain in silence. This adds to the mystery. After I make a word, I point to my kids, they read the word, and then I give them a thumbs up if they’re correct or a thumbs to the side if there’s something they need to fix. I silently point to the part of the word they need to fix and they try again. We silently cheer when we get to the end. 🙂
A Letter Tile Board
Instead of writing each word on a whiteboard, you can manipulate letter tiles on a magnetic mat. Just make sure to use letter tiles as opposed to singular magnetic letters so you have the letters for consonant digraphs (sh, ck, ph, etc.) or vowel teams (ee, ai, oa, etc.) together on each tile.
A Digital Board
If you don’t have a magnetic letter-tile board, or if you are teaching a large group, you may want to use a digital board. You can use the free one from UFLI to change the words, asking students to read each one. Just have a list ready so you can display all the tiles you need, and you won’t have to think how to change the words on the spot.
Student-Made Variation
Instead of YOU making the changes on your whiteboard or letter-tile mat, you could give students the instructions to make each word on your list. Start with one word that they’ll make with tiles or write on a dry-erase board. Then tell them what letter(s) to change. For example, if the first word is “boat”, tell them to change the “b” to a “g”. Then say, “Read your new word.” After they read it and say “goat”, continue with the next change.
Ready-Made Slides
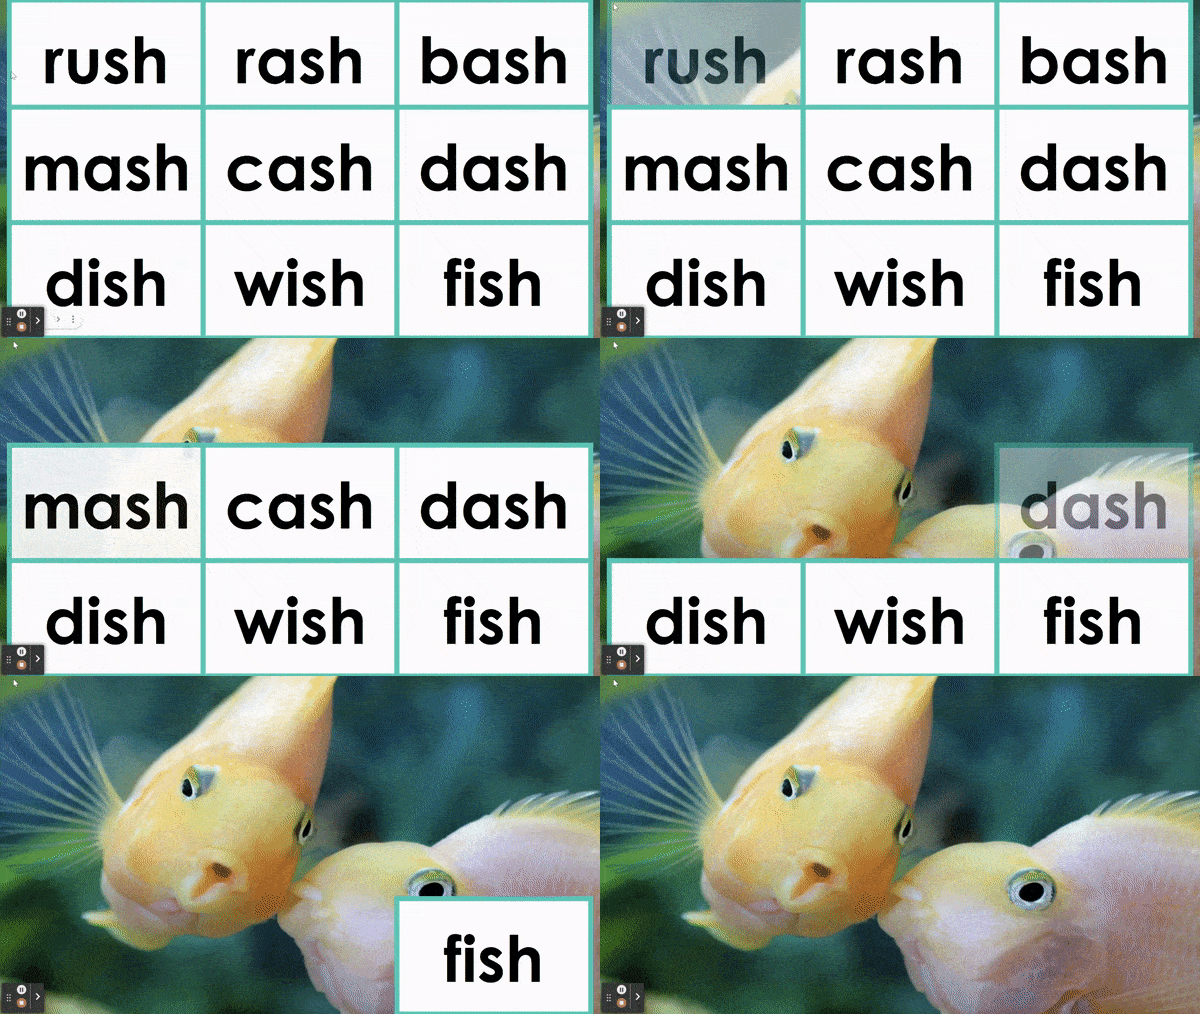
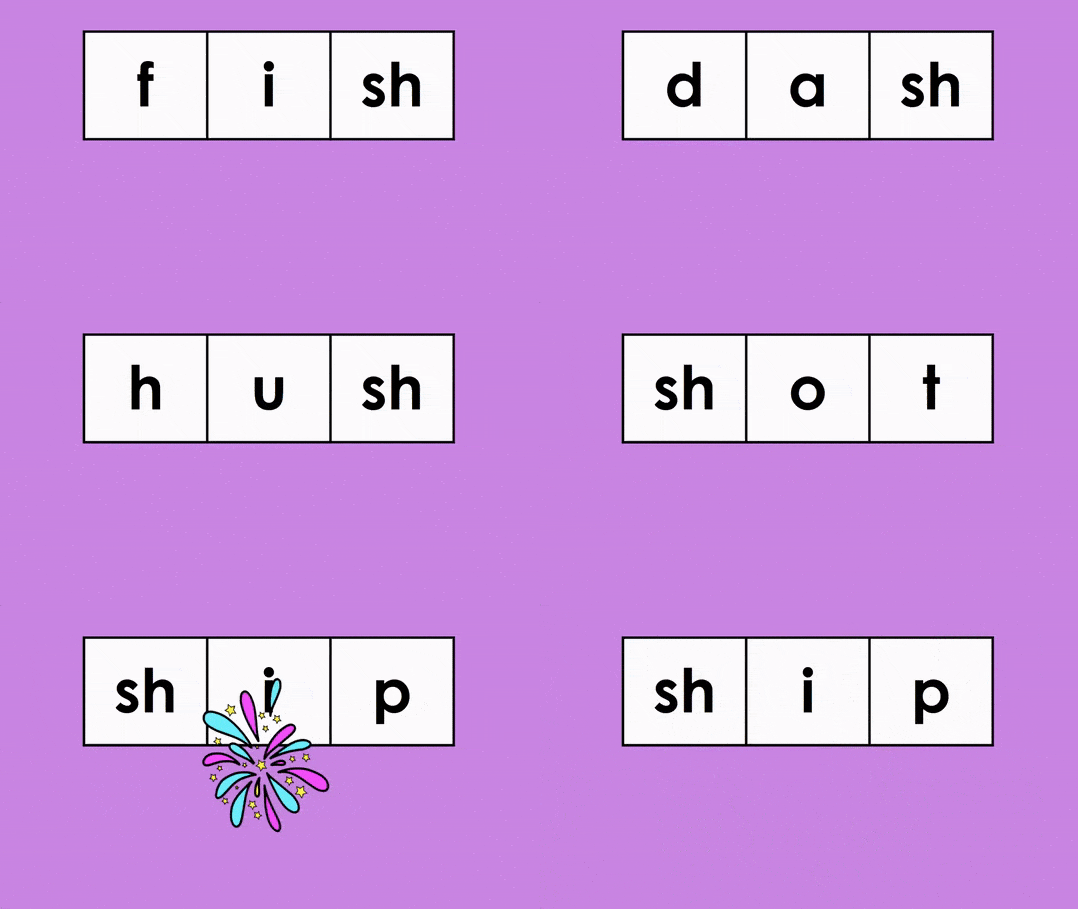
If you’re short on time and would like premade word chains, you can find them in my no-prep phonics lessons. I include word-chaining activities in many of my easy-to-use digital resources, either in the form of “mystery picture” word-reading slides or in “speed round” slides.
Here’s an example of a mystery picture word chain. It’s part of a larger structured literacy bundle full of engaging real photographs. You may check out the bundle here.

Speed round word chains, as seen below, are a part of another structured literacy bundle (containing cute clipart). You can find that one here.

Final Thoughts on Word Chains
I wish I’d learned about word chains when I got a Master’s Degree in Elementary Reading, but that didn’t happen. Nonetheless, I’m glad I picked it up along the way in my attempt to learn as much as possible about helping students (especially those most at-risk of reading failure) increase their chance of success.
If you’re new to word chaining, I hope you’ll see for yourself how simple it is to incorporate into your daily practice. If you decide to give it a try, I wish your students success and enjoyment as they gain confidence in their decoding skills!
